


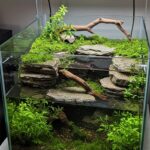
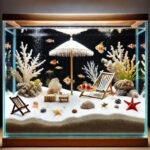
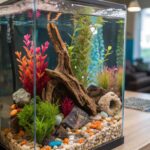

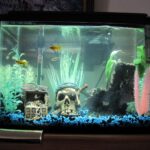

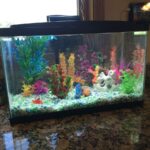
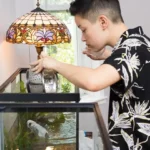
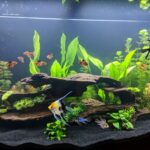
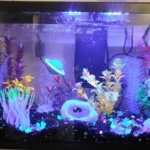
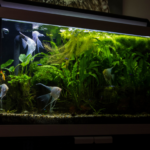
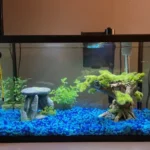
![Fishkeeping is more than just watching your aquatic friends swim—it's about creating a healthy, balanced ecosystem. And at the heart of that balance lies one of the most crucial factors: fish food. Whether you're a beginner setting up your first tank or a seasoned aquarist fine-tuning your care routine, understanding what to feed your fish can make all the difference. Let’s dive deep into the world of fish food and uncover what your fish really need to thrive. Why Choosing the Right Fish Food Matters The health of your fish depends directly on what you feed them. Just like humans, fish require a balanced diet rich in protein, fiber, vitamins, and minerals. But different species have different needs. Feeding your fish the wrong type of food can lead to: Nutritional deficiencies Digestive issues Poor coloration Reduced lifespan And in worst cases, it can impact water quality, leading to algae growth and health problems across the tank. Understanding the Different Types of Fish Food Not all fish food is created equal. Depending on your fish type, feeding habits, and tank conditions, you'll need to choose from several forms. 1. Flakes Best for: Top feeders like guppies, tetras, and bettas Pros: Easy to use, widely available, affordable Cons: Can lose nutrients quickly in water Flake fish food is a staple for many freshwater tanks. They float on the surface, making them ideal for top dwellers. However, if left uneaten, flakes can sink and pollute the substrate. 2. Pellets Best for: Mid-to-bottom feeders like angelfish, loaches, and cichlids Pros: Available in sinking or floating varieties, nutrient-dense Cons: May be too large for small fish Pellets come in different sizes and buoyancies. Choose sinking pellets for bottom dwellers and floating ones for surface feeders. 3. Freeze-Dried Food Best for: Carnivorous fish Pros: High in protein, long shelf-life, no parasites Cons: Lacks moisture, can cause constipation if overused Common freeze-dried options include bloodworms, daphnia, and brine shrimp. They’re great for occasional treats. 4. Frozen Food Best for: Sensitive or exotic species Pros: Retains nutrients, closer to natural diet Cons: Requires freezing, can be messy Ideal for picky eaters or breeding fish, frozen fish food offers high-quality nutrition in a more natural form. 5. Live Food Best for: Predator fish or breeding programs Pros: Stimulates natural hunting behavior Cons: Risk of introducing diseases, harder to store Options include live brine shrimp, blackworms, or feeder fish. Use sparingly and source from trusted suppliers. 6. Vegetable-Based Food Best for: Herbivorous fish like plecos or goldfish Pros: Aids digestion, balances protein-heavy diets Cons: Often overlooked in carnivore-focused tanks These foods include spirulina flakes, algae wafers, and even blanched vegetables like zucchini or spinach. How Often Should You Feed Your Fish? Overfeeding is one of the biggest mistakes new fishkeepers make. It can lead to bloating, poor water quality, and even death. So, what’s the right amount? General Rule: Feed your fish once or twice a day, offering only as much as they can eat in 2–3 minutes. For nocturnal or special species (like plecos), adjust timing accordingly. Pro Tip: Skip one feeding day a week to help their digestion and reduce waste buildup. Signs You’re Feeding Your Fish the Right Food Look out for these positive signs: Bright colors and shiny scales Active and responsive behavior Consistent growth rates Clean, clear tank water If you notice leftover food, cloudy water, or lethargic fish, you may need to reassess your feeding habits. Customizing Fish Food Based on Species Different fish have different nutritional requirements. Here are a few examples: Betta Fish Diet: High-protein; avoid plant-heavy foods Best Food: Betta-specific pellets, frozen bloodworms, daphnia Goldfish Diet: Omnivores, need more plant matter Best Food: Pellets, blanched veggies, goldfish flakes Cichlids Diet: Varies by species (some herbivores, some carnivores) Best Food: Cichlid-specific pellets, spirulina, shrimp Tetras and Guppies Diet: Omnivores Best Food: Micro pellets, flakes, occasional live/frozen treats Always research your specific fish species to fine-tune their feeding. Feeding Tips for a Healthy Aquarium Here are some tried-and-tested strategies from experienced aquarists: Soak dry food: Prevents air intake and bloating Rotate food types: Keeps diet balanced and interesting Feed after lights on: Fish are more active and ready to eat Remove uneaten food: Reduces waste and algae growth Common Mistakes to Avoid Feeding too much or too often Using expired or low-quality food Ignoring dietary needs of bottom dwellers Sticking to one food type only Not observing fish behavior during feeding Being mindful of these can drastically improve your fish's health. DIY Fish Food: Is It Worth Trying? If you want to go the extra mile, you can make your own fish food at home. Common ingredients include: Shrimp, fish fillet (protein) Spinach, peas, spirulina (vegetables) Gelatin or agar (binding agent) While homemade food can be more natural, it requires careful preparation to avoid nutritional imbalances or contamination. Sustainability and Ethical Choices in Fish Food The fish food industry is slowly shifting toward more ethical, sustainable practices. Look for brands that: Avoid overfishing Use insect-based protein or plant alternatives Employ eco-friendly packaging Maintain transparency about ingredients This not only helps your fish, but also supports the planet. Trusted Brands in Fish Food (for All Budgets) Here are a few well-known, reliable fish food brands: Tetra – Great for flakes and beginner-friendly food Hikari – High-quality pellets, especially for exotic fish API – Balanced formulas for all types of aquariums Omega One – Known for natural ingredients NorthFin – Premium, Canadian-made fish food Always check the label for ingredient transparency and species suitability. Conclusion: Feed Smart, Watch Your Tank Thrive Choosing the right fish food isn’t just about convenience—it’s about giving your aquatic pets the best chance at a vibrant, healthy life. By understanding what your fish eat, how they eat it, and how often, you're not just feeding fish—you're building a thriving underwater community. So next time you're at the pet store or browsing online, don’t just grab the first tub of flakes. Think about your tank, your fish, and the long-term benefits of feeding right. Your fish—and your water quality—will thank you. Looking to optimize your aquarium care? Check out our guides on [corner fish tank], [gravel for fish tank], and [aquarium fish tank decorations] for a holistic fishkeeping experience.](https://getpetsite.com/wp-content/uploads/2025/08/maine-cat-goldfish-food-150x150.jpg)


Posted inBlog
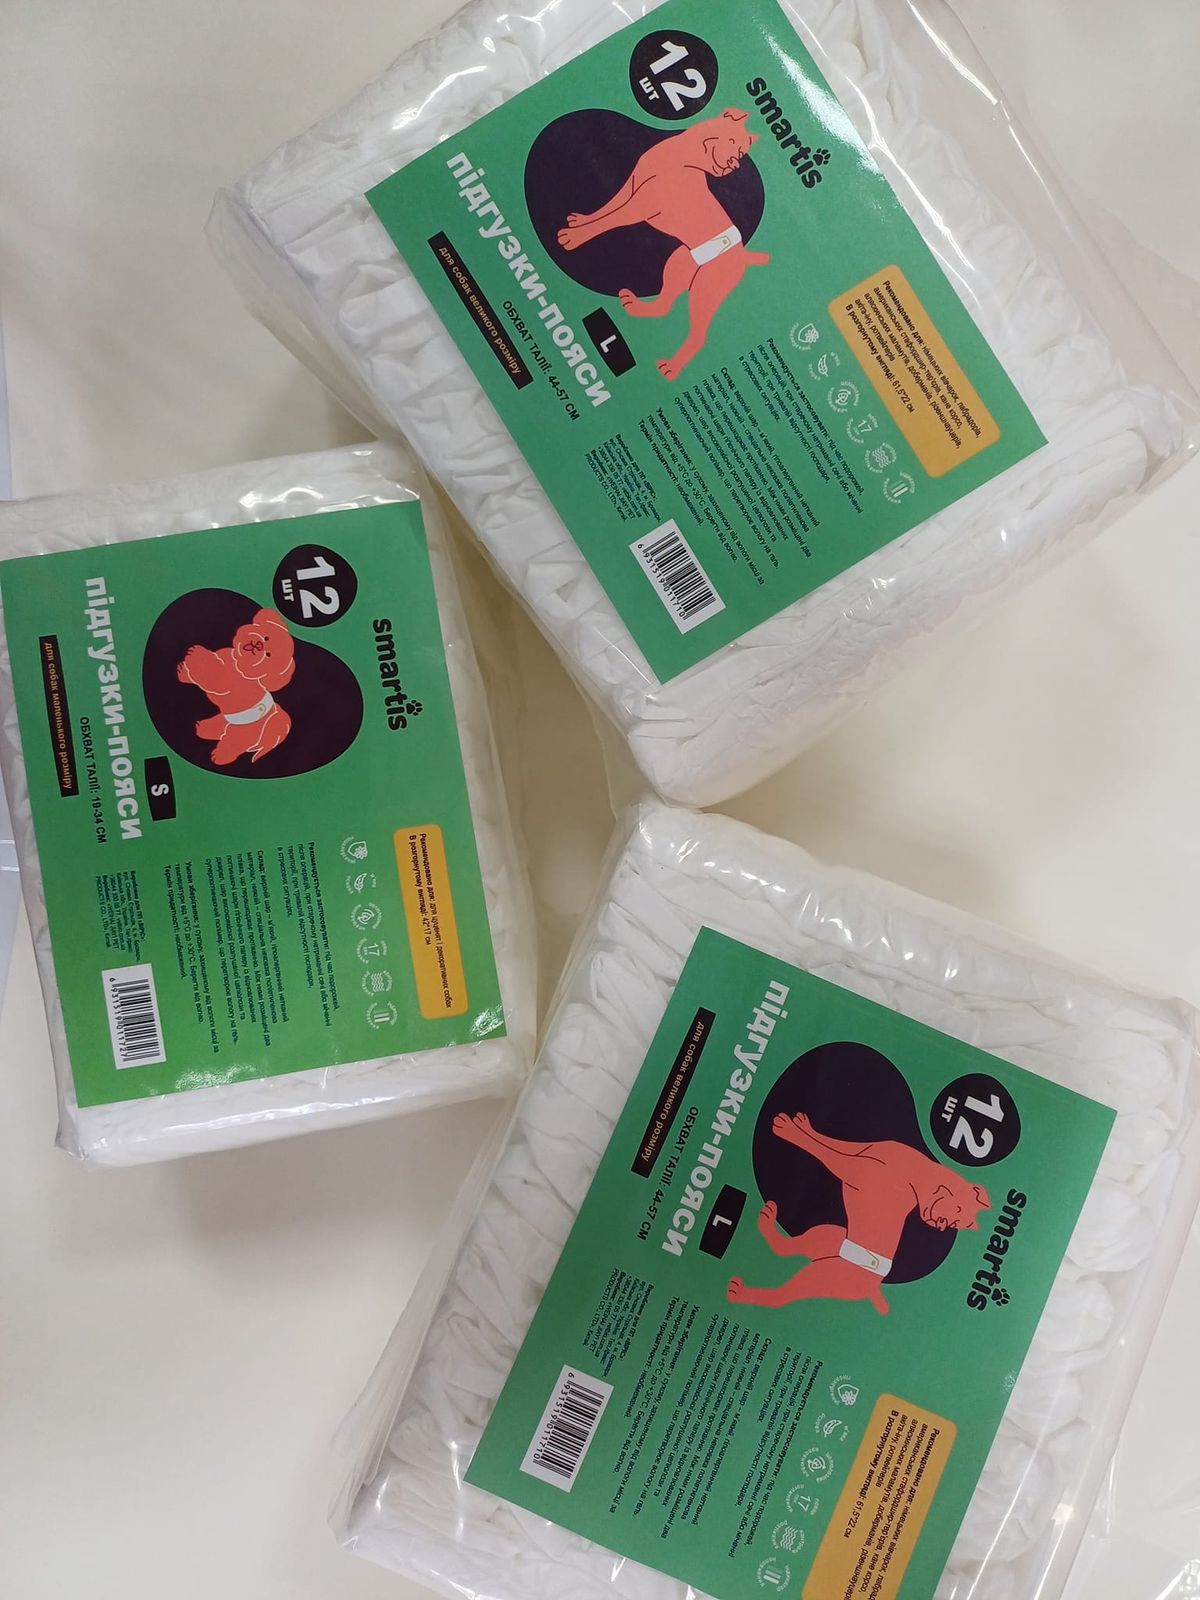
Dog Pampers: A Helpful Solution for Hygiene and Comfort
Caring for a dog with incontinence, a new mom, or a senior pet can be challenging. That’s where dog pampers come in—designed to keep your dog clean, comfortable, and your…